Creating custom templates
Project owners and team managers can create custom templates from existing projects to reuse workflows and share them with their teams.
Custom templates work alongside the pre-built templates that Claris Connect provides.
Create a template from an existing project
-
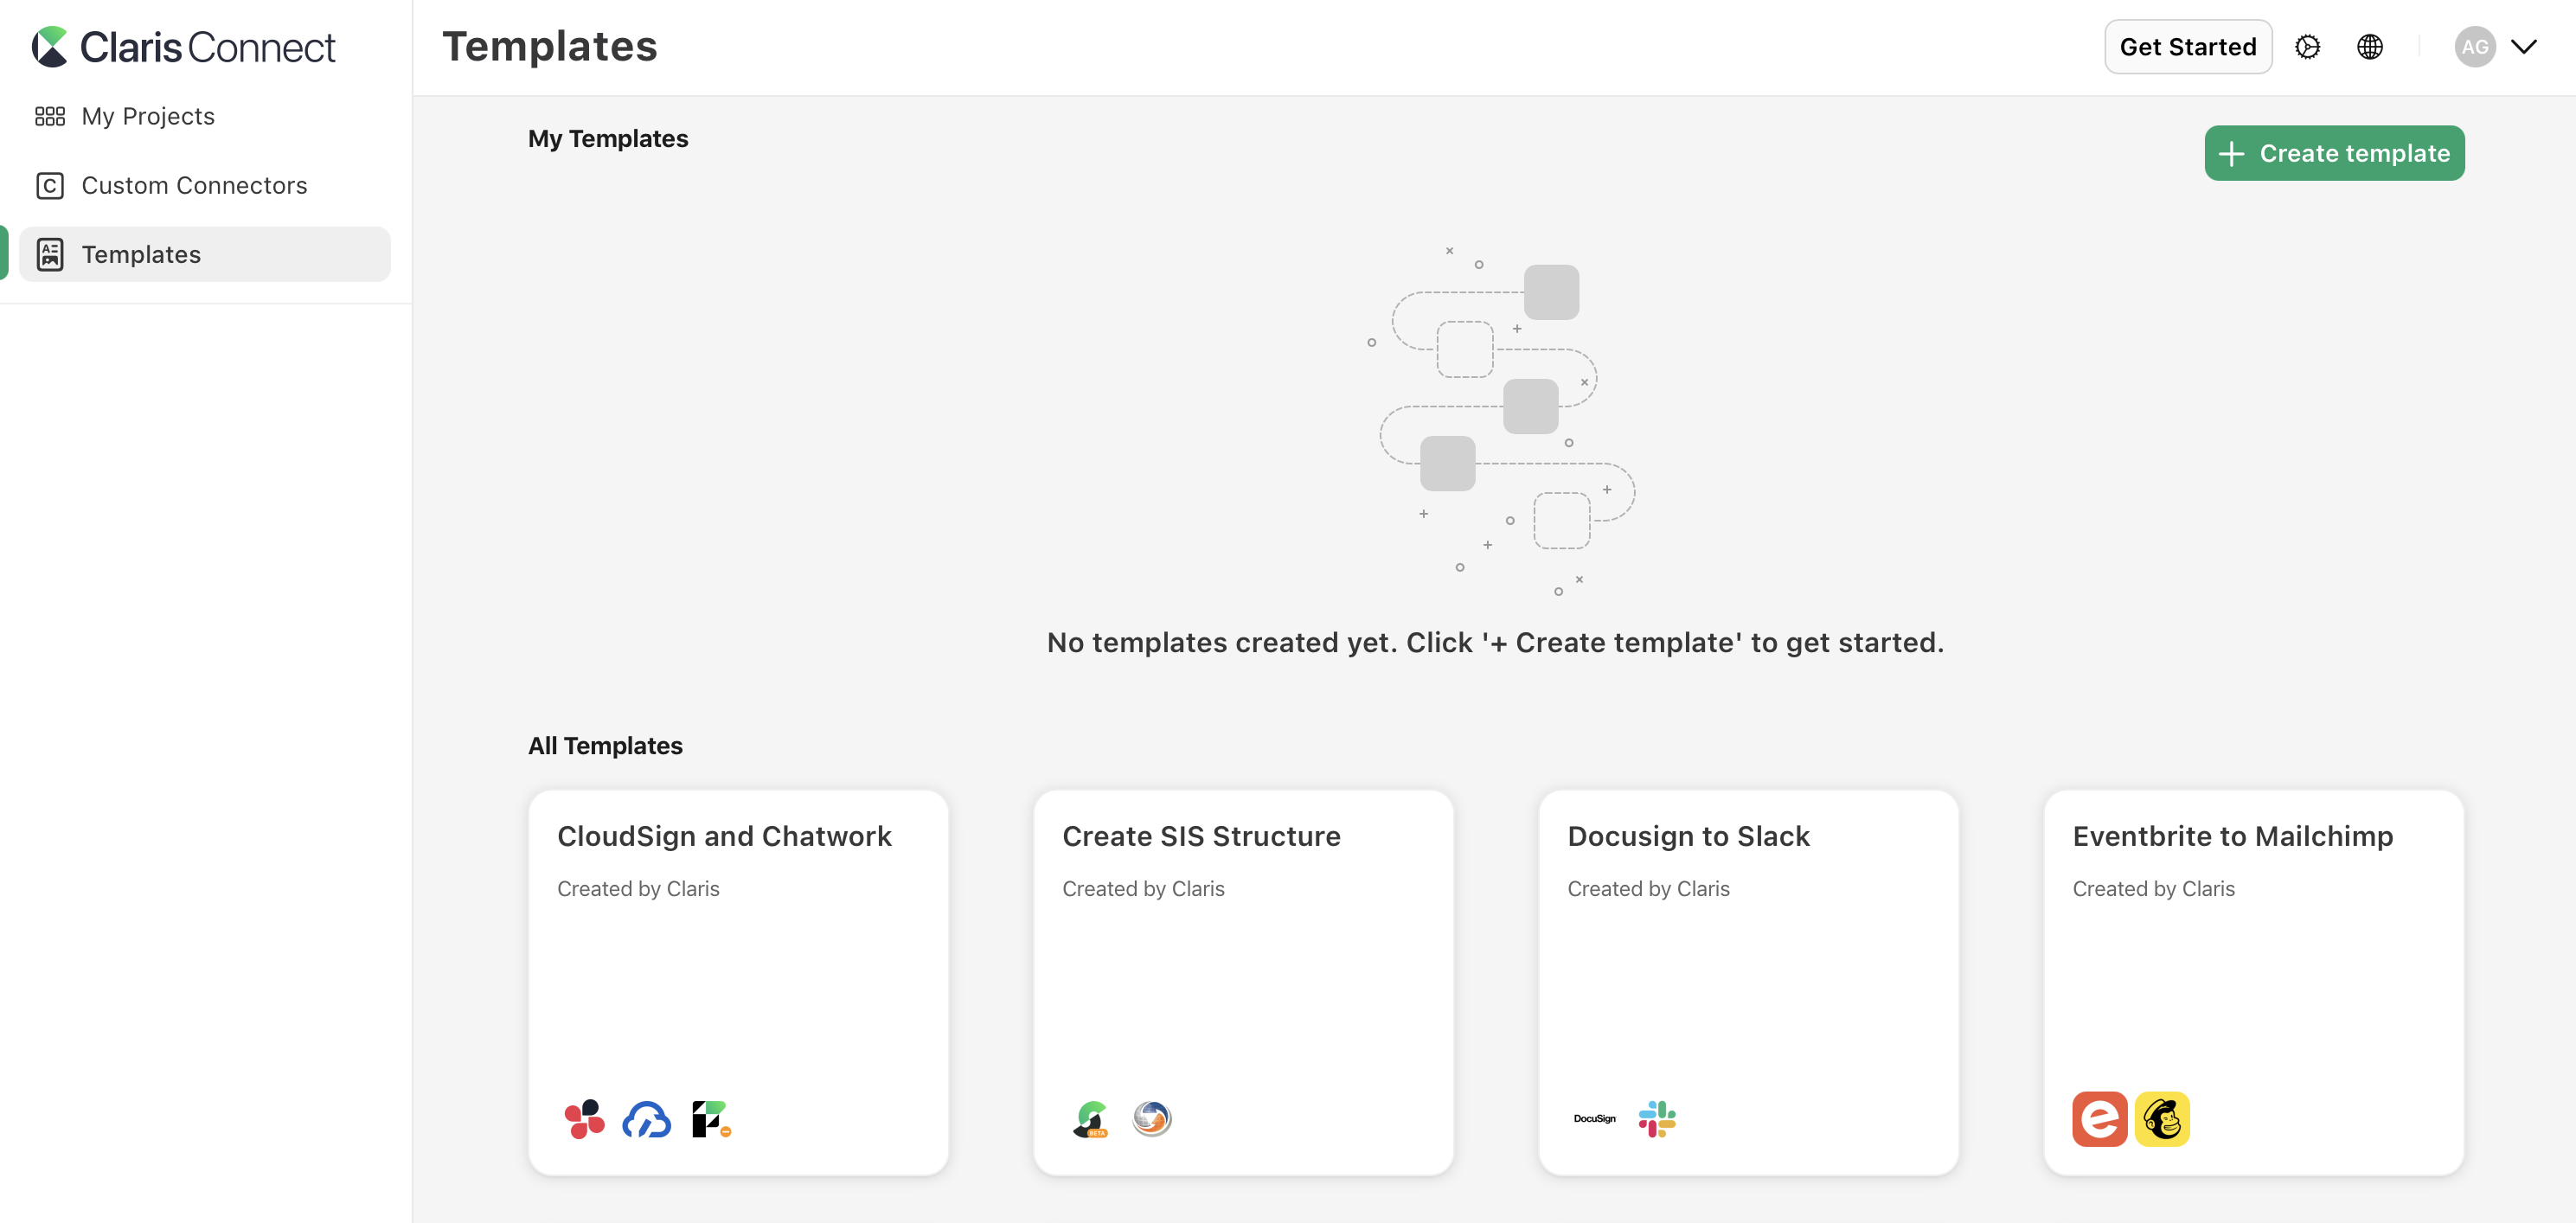
In the left sidebar, click Templates.
-
In the My Templates section, click + Create template.
-
Choose the project containing the flows you want to transition, then click Create.
The template is created and appears in your My Templates section.
Create a project from your custom template
-
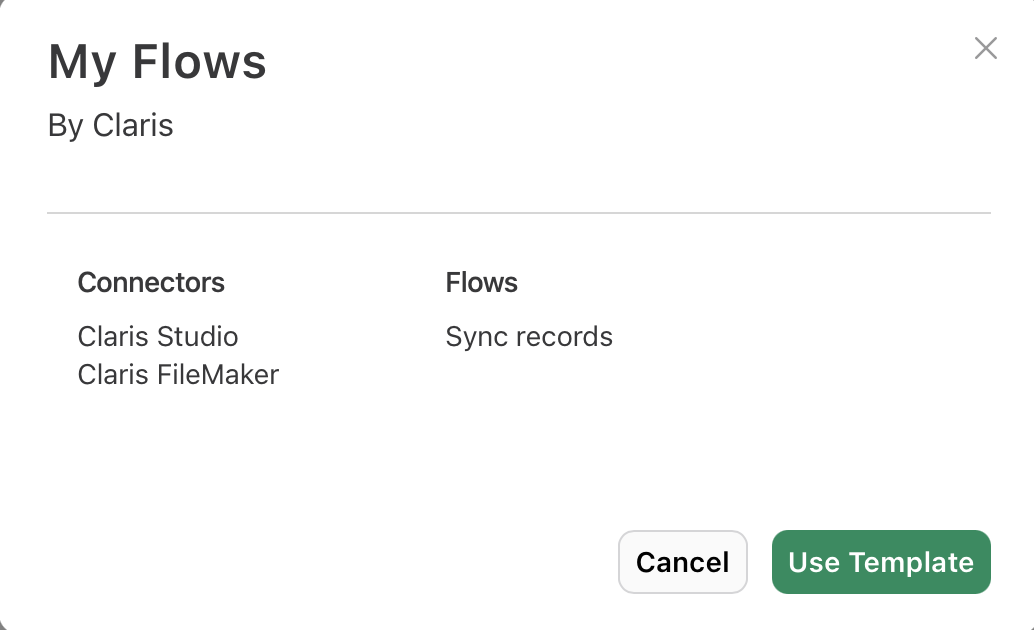
In the left sidebar, click Templates.
-
In the My Templates section, click the template you want to use, then click Use Template.
-
Enter a name for the project, then click Create.
-
Follow the setup process to configure connectors and sign in to any services used in the template.
-
When finished, click Create Project.
A new project is created based on your template with the same flows and structure as the original project. See Creating flows with templates.
Share a template with another team
-
In the left sidebar, click Templates.
-
In the My Templates section, find the template you want to share.
-
Click
 , then click Share.
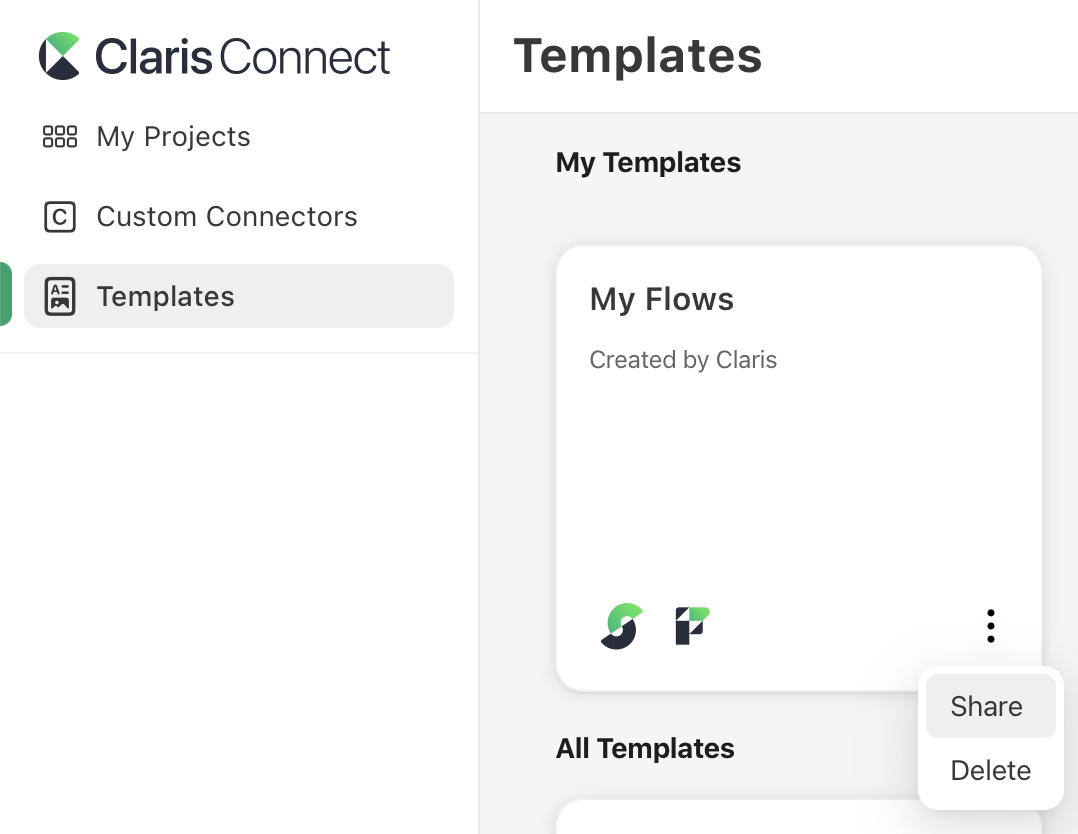
-
In the drop-down menu, select the team you want to share the template with.
-
Click Share.
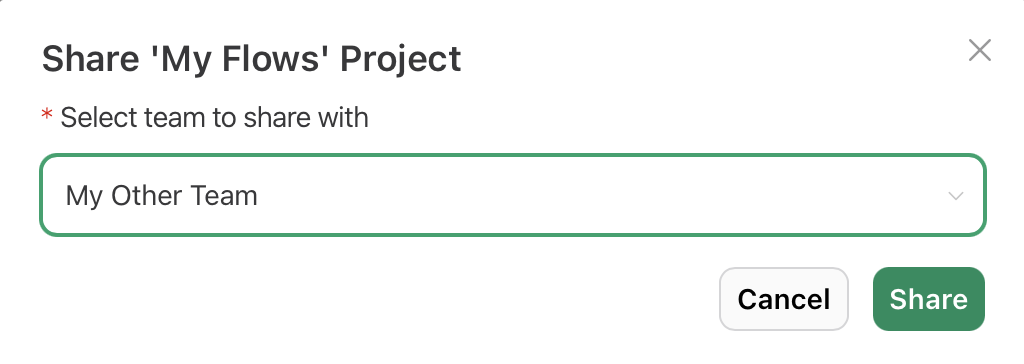
The template becomes available to members of the selected team.
Delete a custom template
-
In the left sidebar, click Templates.
-
In the My Templates section, find the template you want to delete.
-
Click
, click Delete, then click Delete again to confirm the deletion.
The template is permanently removed from your My Templates section.
Note Deleting a template does not affect any projects that were created from that template.
Notes
-
Flows in projects created from a template are turned off by default.
-
If the template contains the Apple School Manager or OneRoster connector, it can only be shared with other teams that also have the education tier of Claris Connect.